
No Fail Pie Crust
I've always been a little afraid of making my own pie crust, until now, since I was introduced to this amazingly easy and classic recipe. After discovering how easy it can be, I can't imagine going back to a pre-made boxed crust (though it serves a purpose when you want less mess and are in a hurry).
My friends Pam, Brian and Greg had a no-nonsense, super sassy mom, Lillian, who didn't have time for recipes with the potential for failure. From what I've gathered, spending time in the kitchen wasn't Lillian's favorite past time, but when she did cook it was with perfection, as were all of her ventures. I'll think of her every time I make this recipe. A big thank you and tremendous gratitude to Pam for sharing this simple piece of pie perfection.
Yield: 1 Pie Crust - top and bottom
INGREDIENTS
2 Cups All Purpose Flour
1/2 Tsp Salt
2 Tbsp Granulated Sugar*
1/2 Cup + 1 Tbsp Olive Oil (or Vegetable Oil)
5 Tbsp Cold Water
4 Tbsp Cold Milk to brush crusts before baking (optional)
Raw Sugar to sprinkle over crust
*Omit sugar for savory pies like Chicken Pot Pie. Add an extra 1/2 Tsp Salt.
DIRECTIONS
1. Preheat oven to 400 degrees. Lightly grease a pie pan. In a medium bowl mix Flour, Salt, Sugar (unless making savory pie), Oil and Water just until almost combined. Once dough is almost formed, finish blending/pressing dough together with hands - this allows the dough to form quickly without becoming over processed. (NOTE: When the wet ingredients meet the dry ingredients for your pie crust you need to be very mindful of over handling your dough.)
2. For a double crusted pie (with a top and bottom) divide dough into 2 equal balls. For a one-crust pie (with only a bottom, like a meringue pie) divide the dough into a 2/3 and 1/3 ball. This allows for a thicker crust on a one-crust pie and still some dough to work with to cut shapes for the top for decoration.
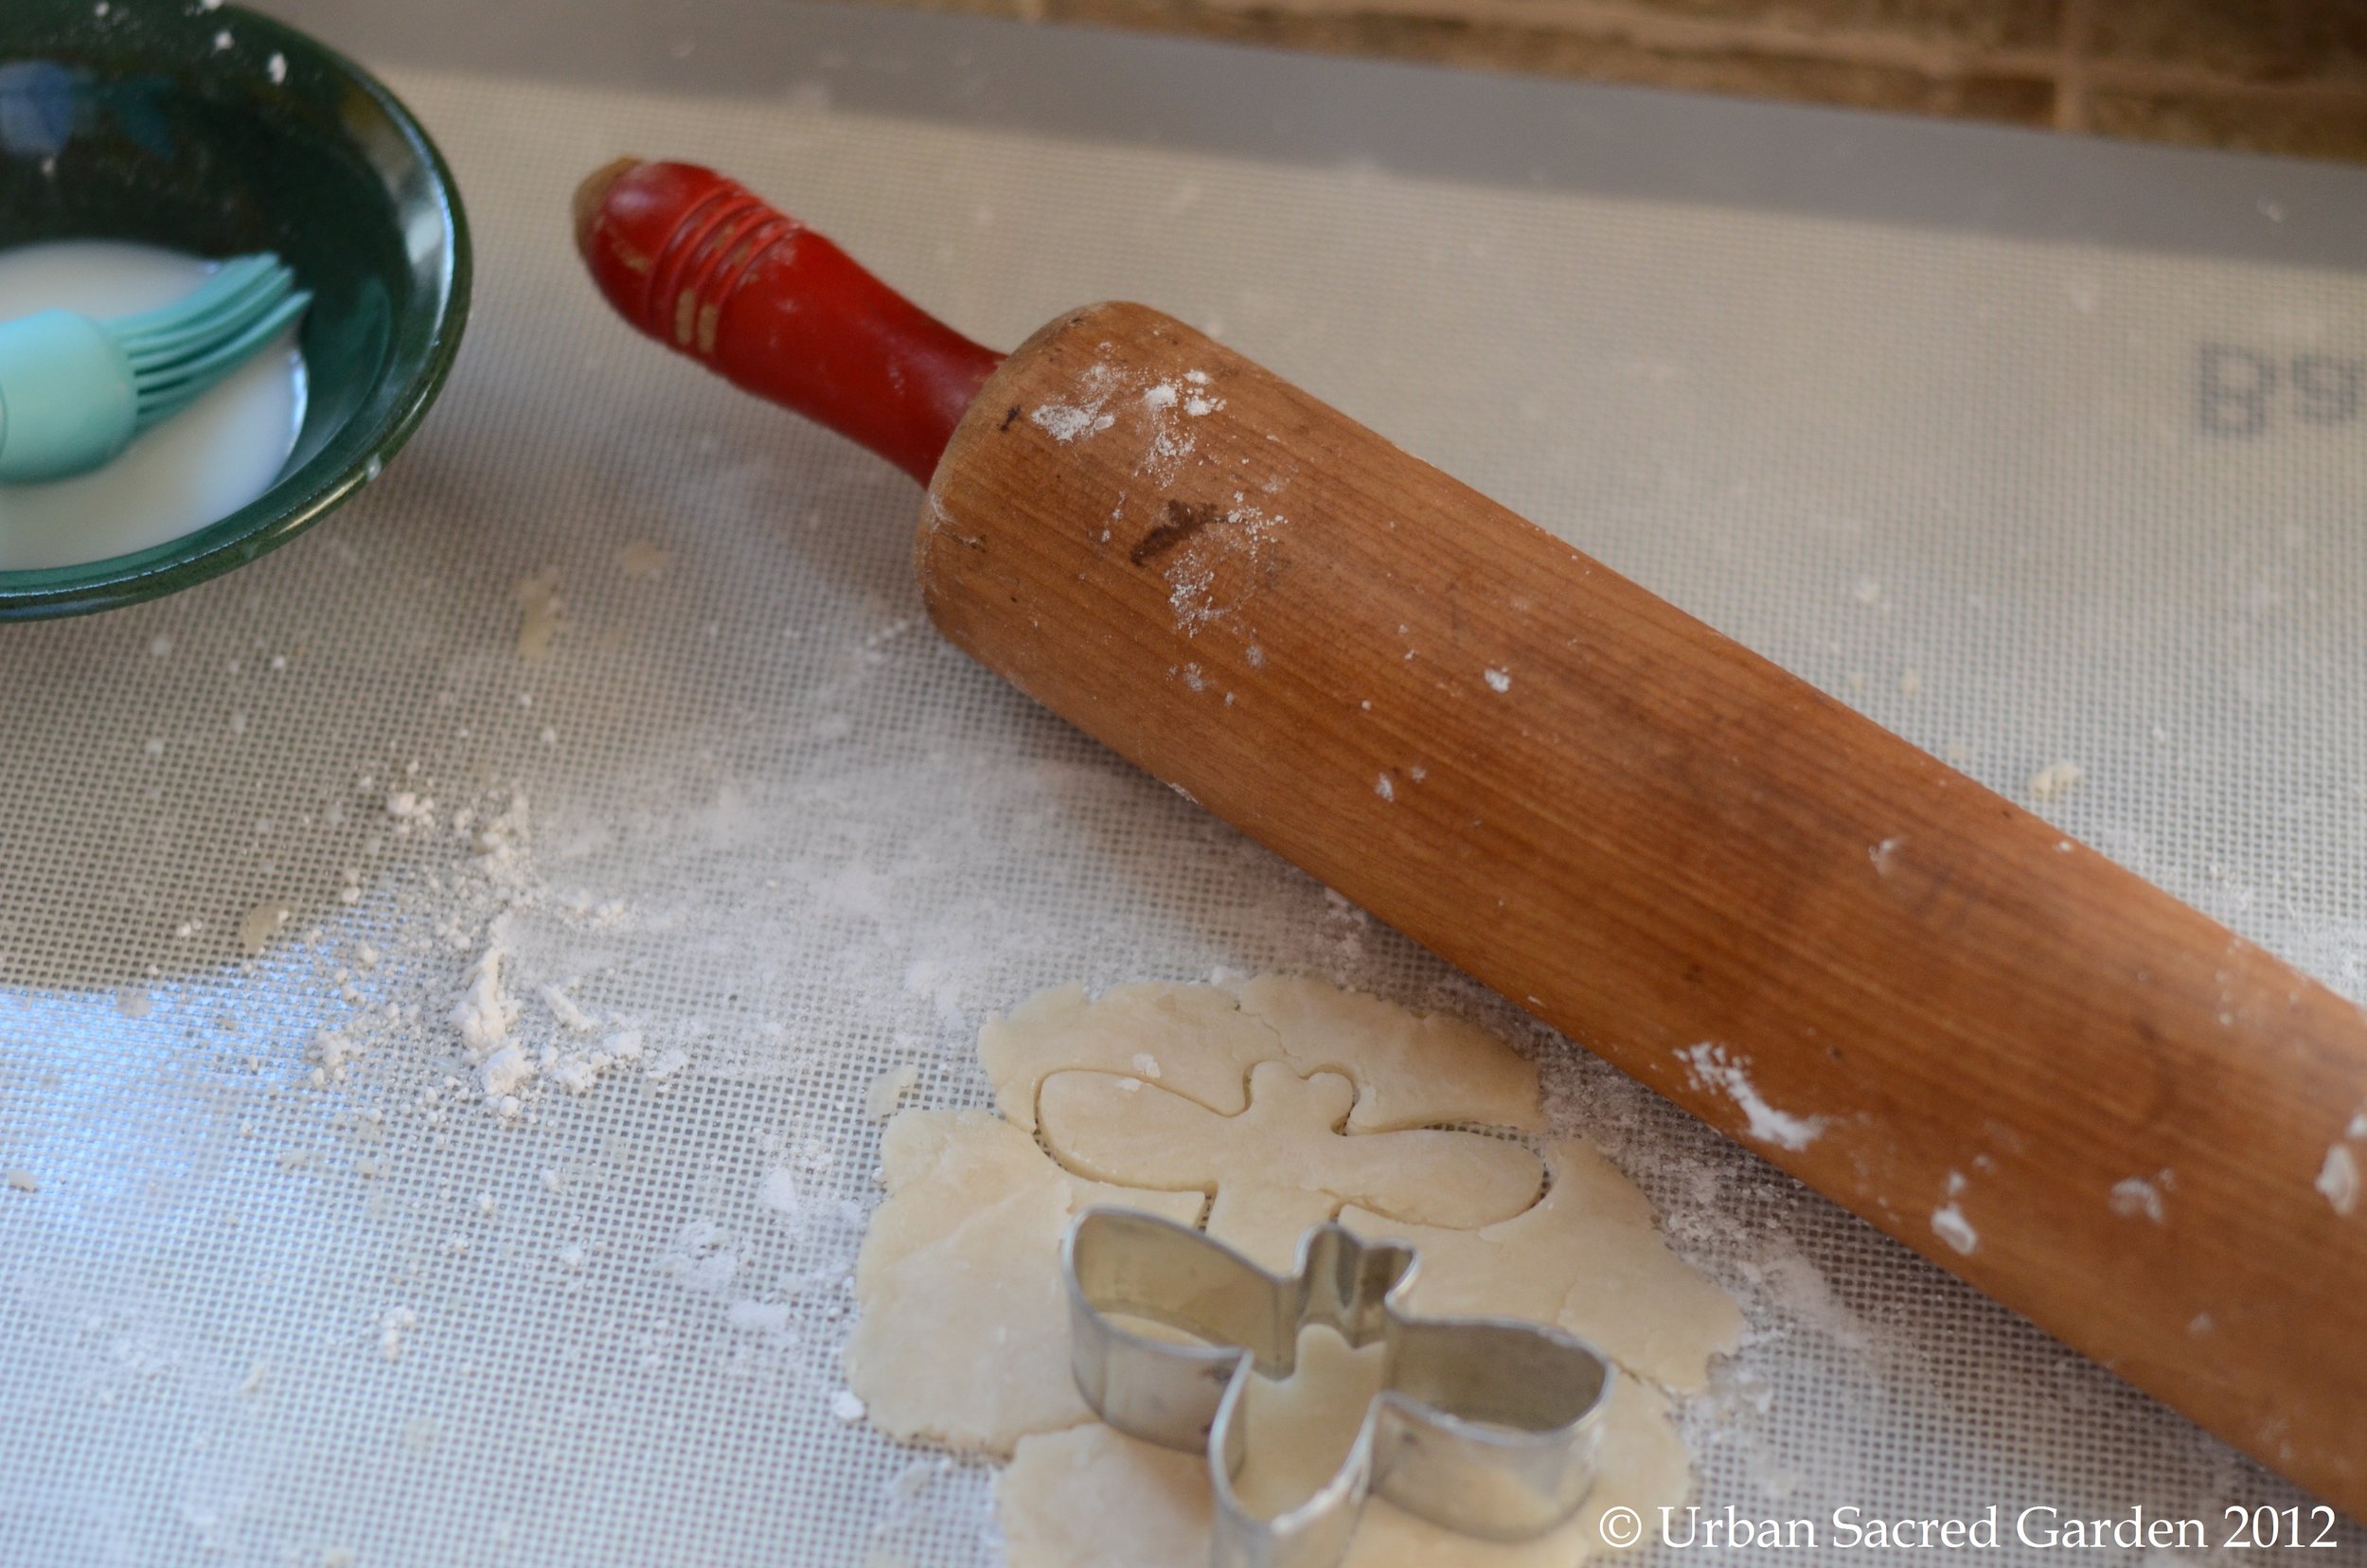
3. Turn dough ball onto lightly floured surface (just a little flour, as you don't want to add too much back into the dough). Roll the dough out until it is about a 1/8 inch thick (a little thicker for 2/3 dough ball for a one-crust pie). Use the back edge of a knife to slowly scrape under dough and release it from the rolling surface. Lay dough in the pie pan and press to shape against the pan, folding and crimping edges as desired.
4. For a double crusted pie, add filling, roll out second crust and layer second crust on top. For pie finishing techniques and filling suggestions check out my post on Simple Fruit Pie. Cook pie as directed for filling, usually around 45 minutes.
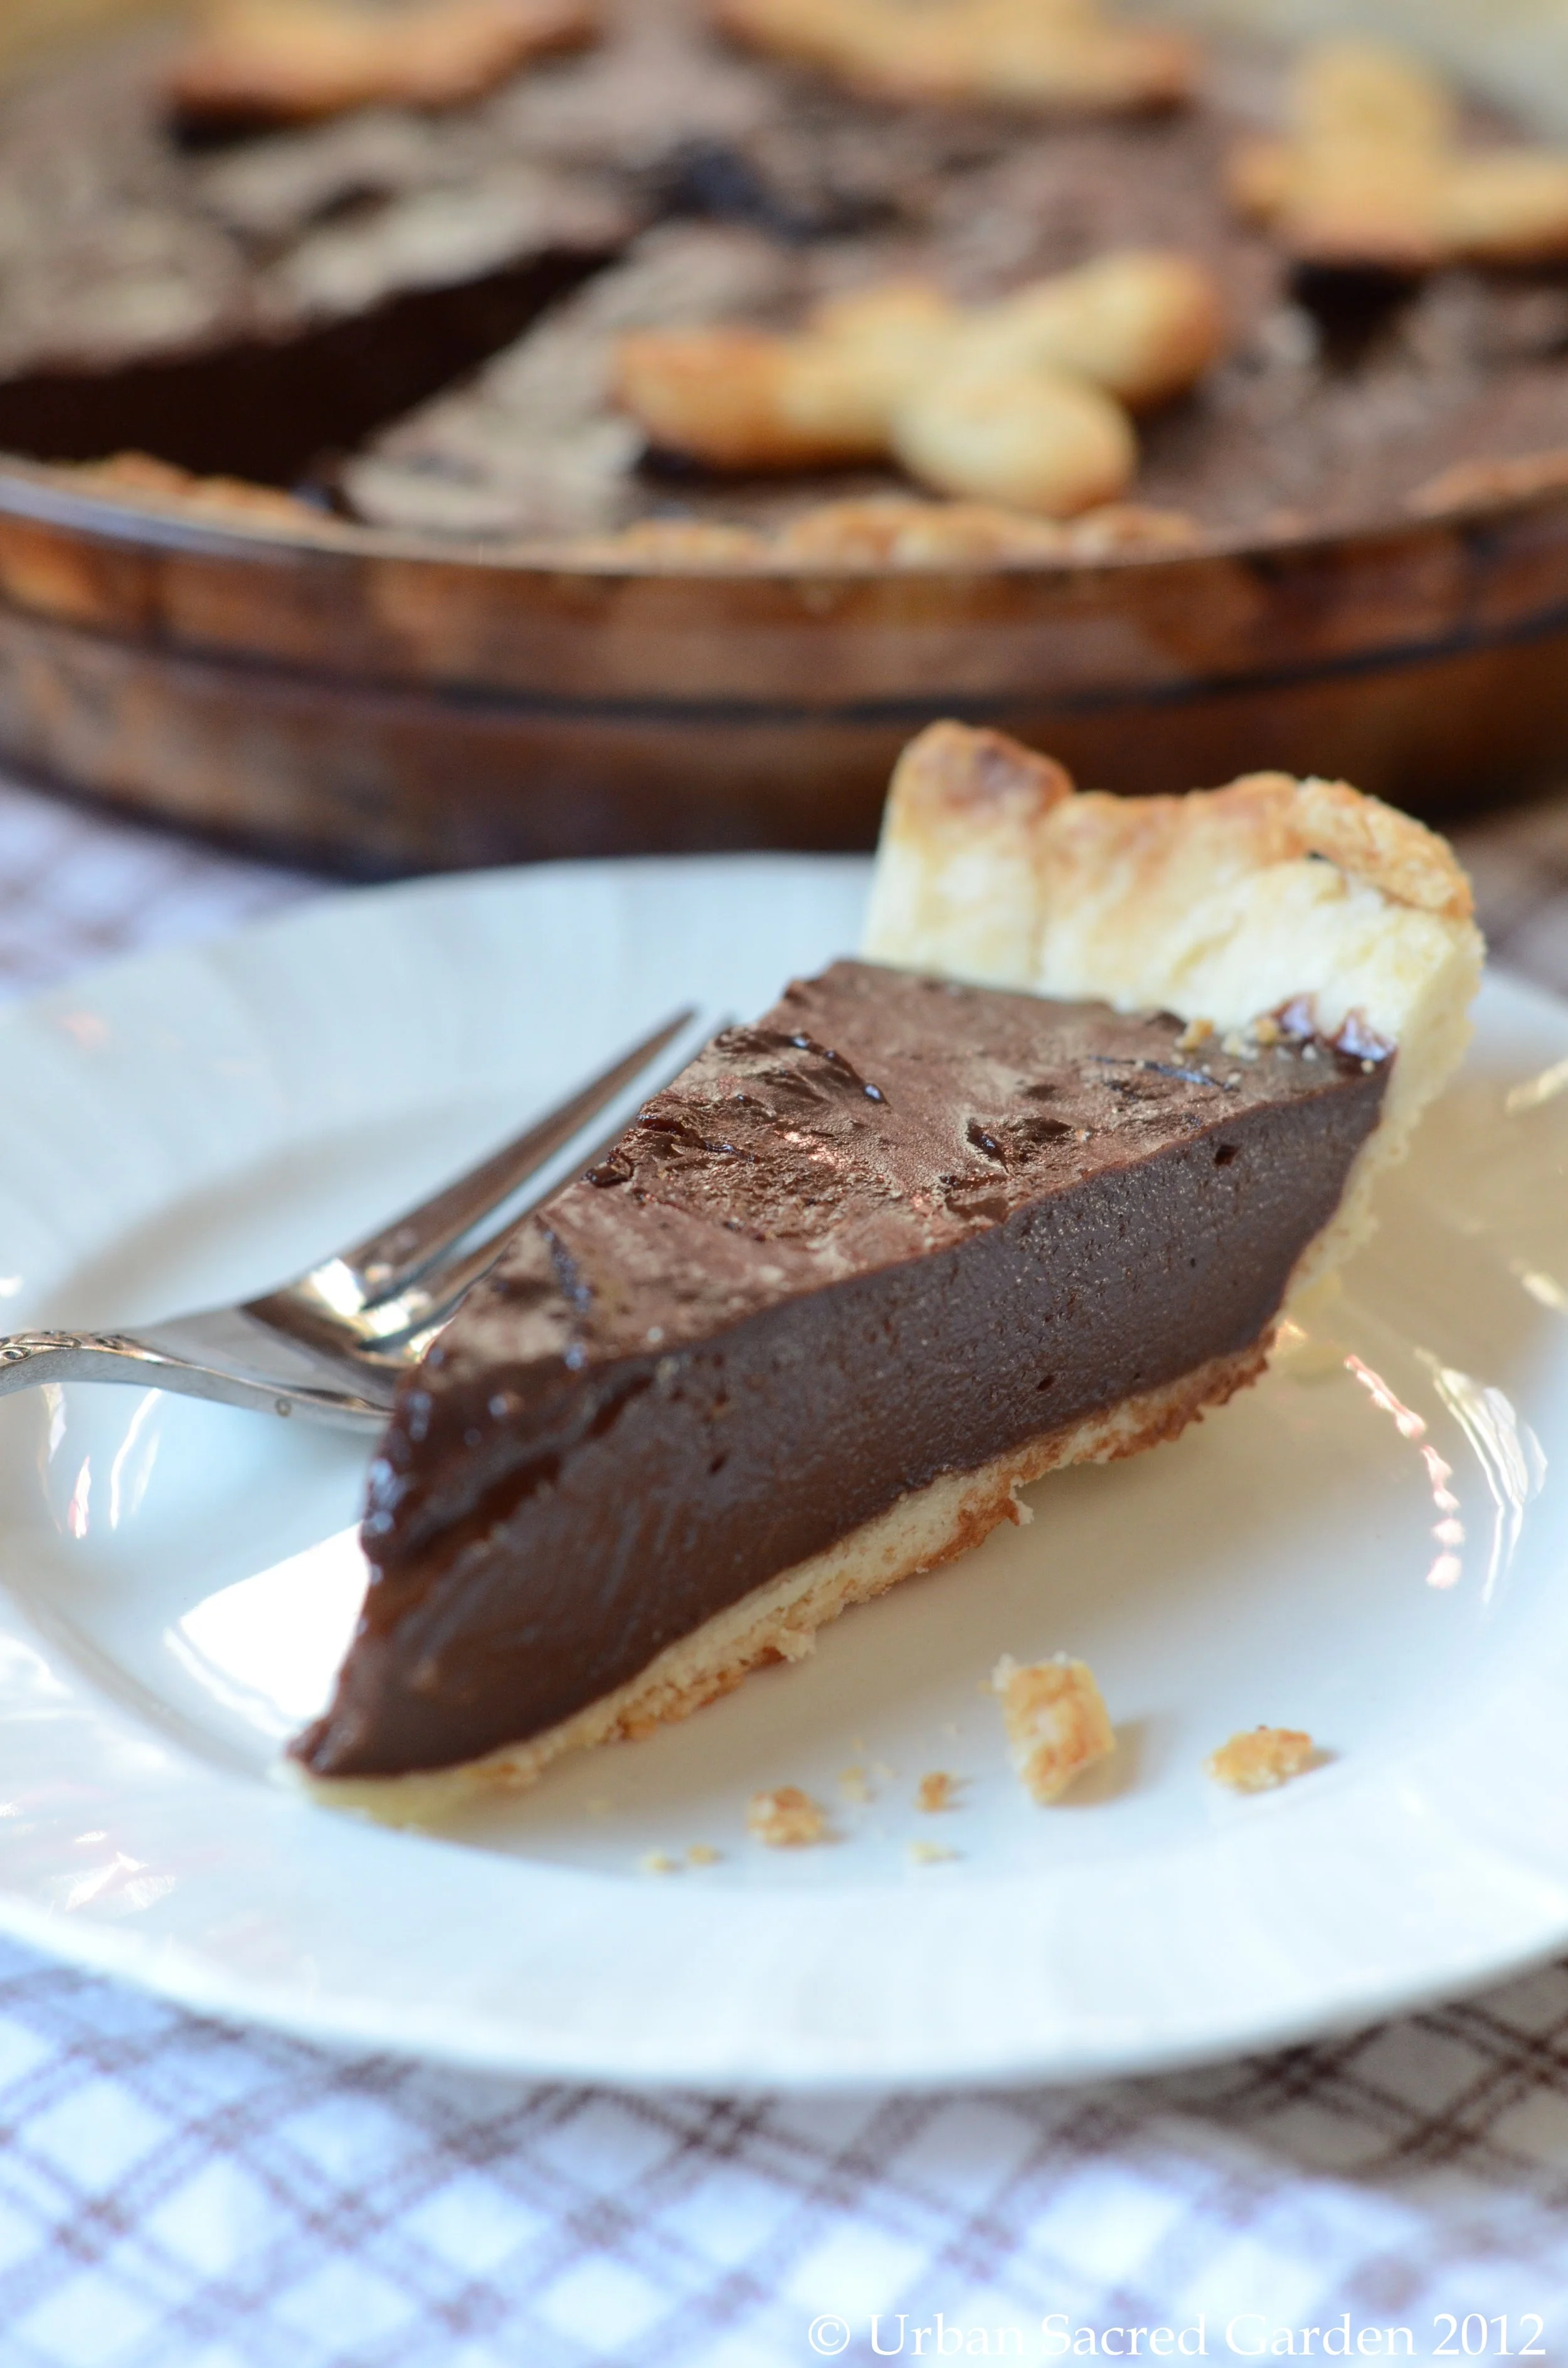
5. For a one-crust pie, after rolling and pressing 2/3 original dough into the pie pan, roll out the 1/3 remaining dough and use a small dough cutter of choice to cut shapes from the dough for decoration. Lightly flour cutter to keep it from sticking. Place cut pieces on a baking sheet lined with parchment paper.
6. Lightly brush the tops of crust (whether double or one-crust or shapes) with a wash of milk to help with browning. Sprinkle all with raw sugar (unless making a savory pie).
7. For a one-crust pie, poke holes in the crust in the pie pan with a fork. Place pie pan in the preheated oven for about 10-15 minutes until pie crust is golden brown around the edges. Place baking sheet with cut pie crust shapes in the oven at the same time. Cook shapes until golden brown, about 8 minutes. Remove crusts from oven and allow to cool before filling with your favorite cream based one-crust pie filling. Top with pieces for décor.
8. For a two-crust pie, fill and bake per recipe (usually in the 45 minute cooking time range). Enjoy!