More Home Landscaping Tips & Tricks

It is Sunday, which brings us to week two of our Landscaping Mini-Class. Last week, we looked at questions you should ask before getting started in the space you want to landscape. This week we will discuss preparations to get you ready to be down in the dirt.

1. What zone do you live in? This is a must know before putting any plants into the ground. Online resources will always list the zone hardiness of the plants they sell and local nurseries in your area will likely carry plants that are safe in your zone, but be sure to confirm with nursery staff. Plants require very specific temperatures, sun light, watering, etc. to thrive. There are only minimal modifications you can make to the outdoor environment in your space. You need to plan for the existing conditions. Otherwise, you’ll end up investing in plants that won’t survive and you will have wasted your time and money, and sacrificed that poor little green guy’s life. Also, be aware that while some plants may grow in your zone, the resulting plant may be shockingly different. As an example, Crepe Myrtle will grow locally in Kentucky and in zones further South, but the difference is significant. In KY (photo to the left) they grow as lean, tall bushes, further South (photo to the right) they grow as large, full trees.
You can easily identify your zonethrough the National Gardening Association.

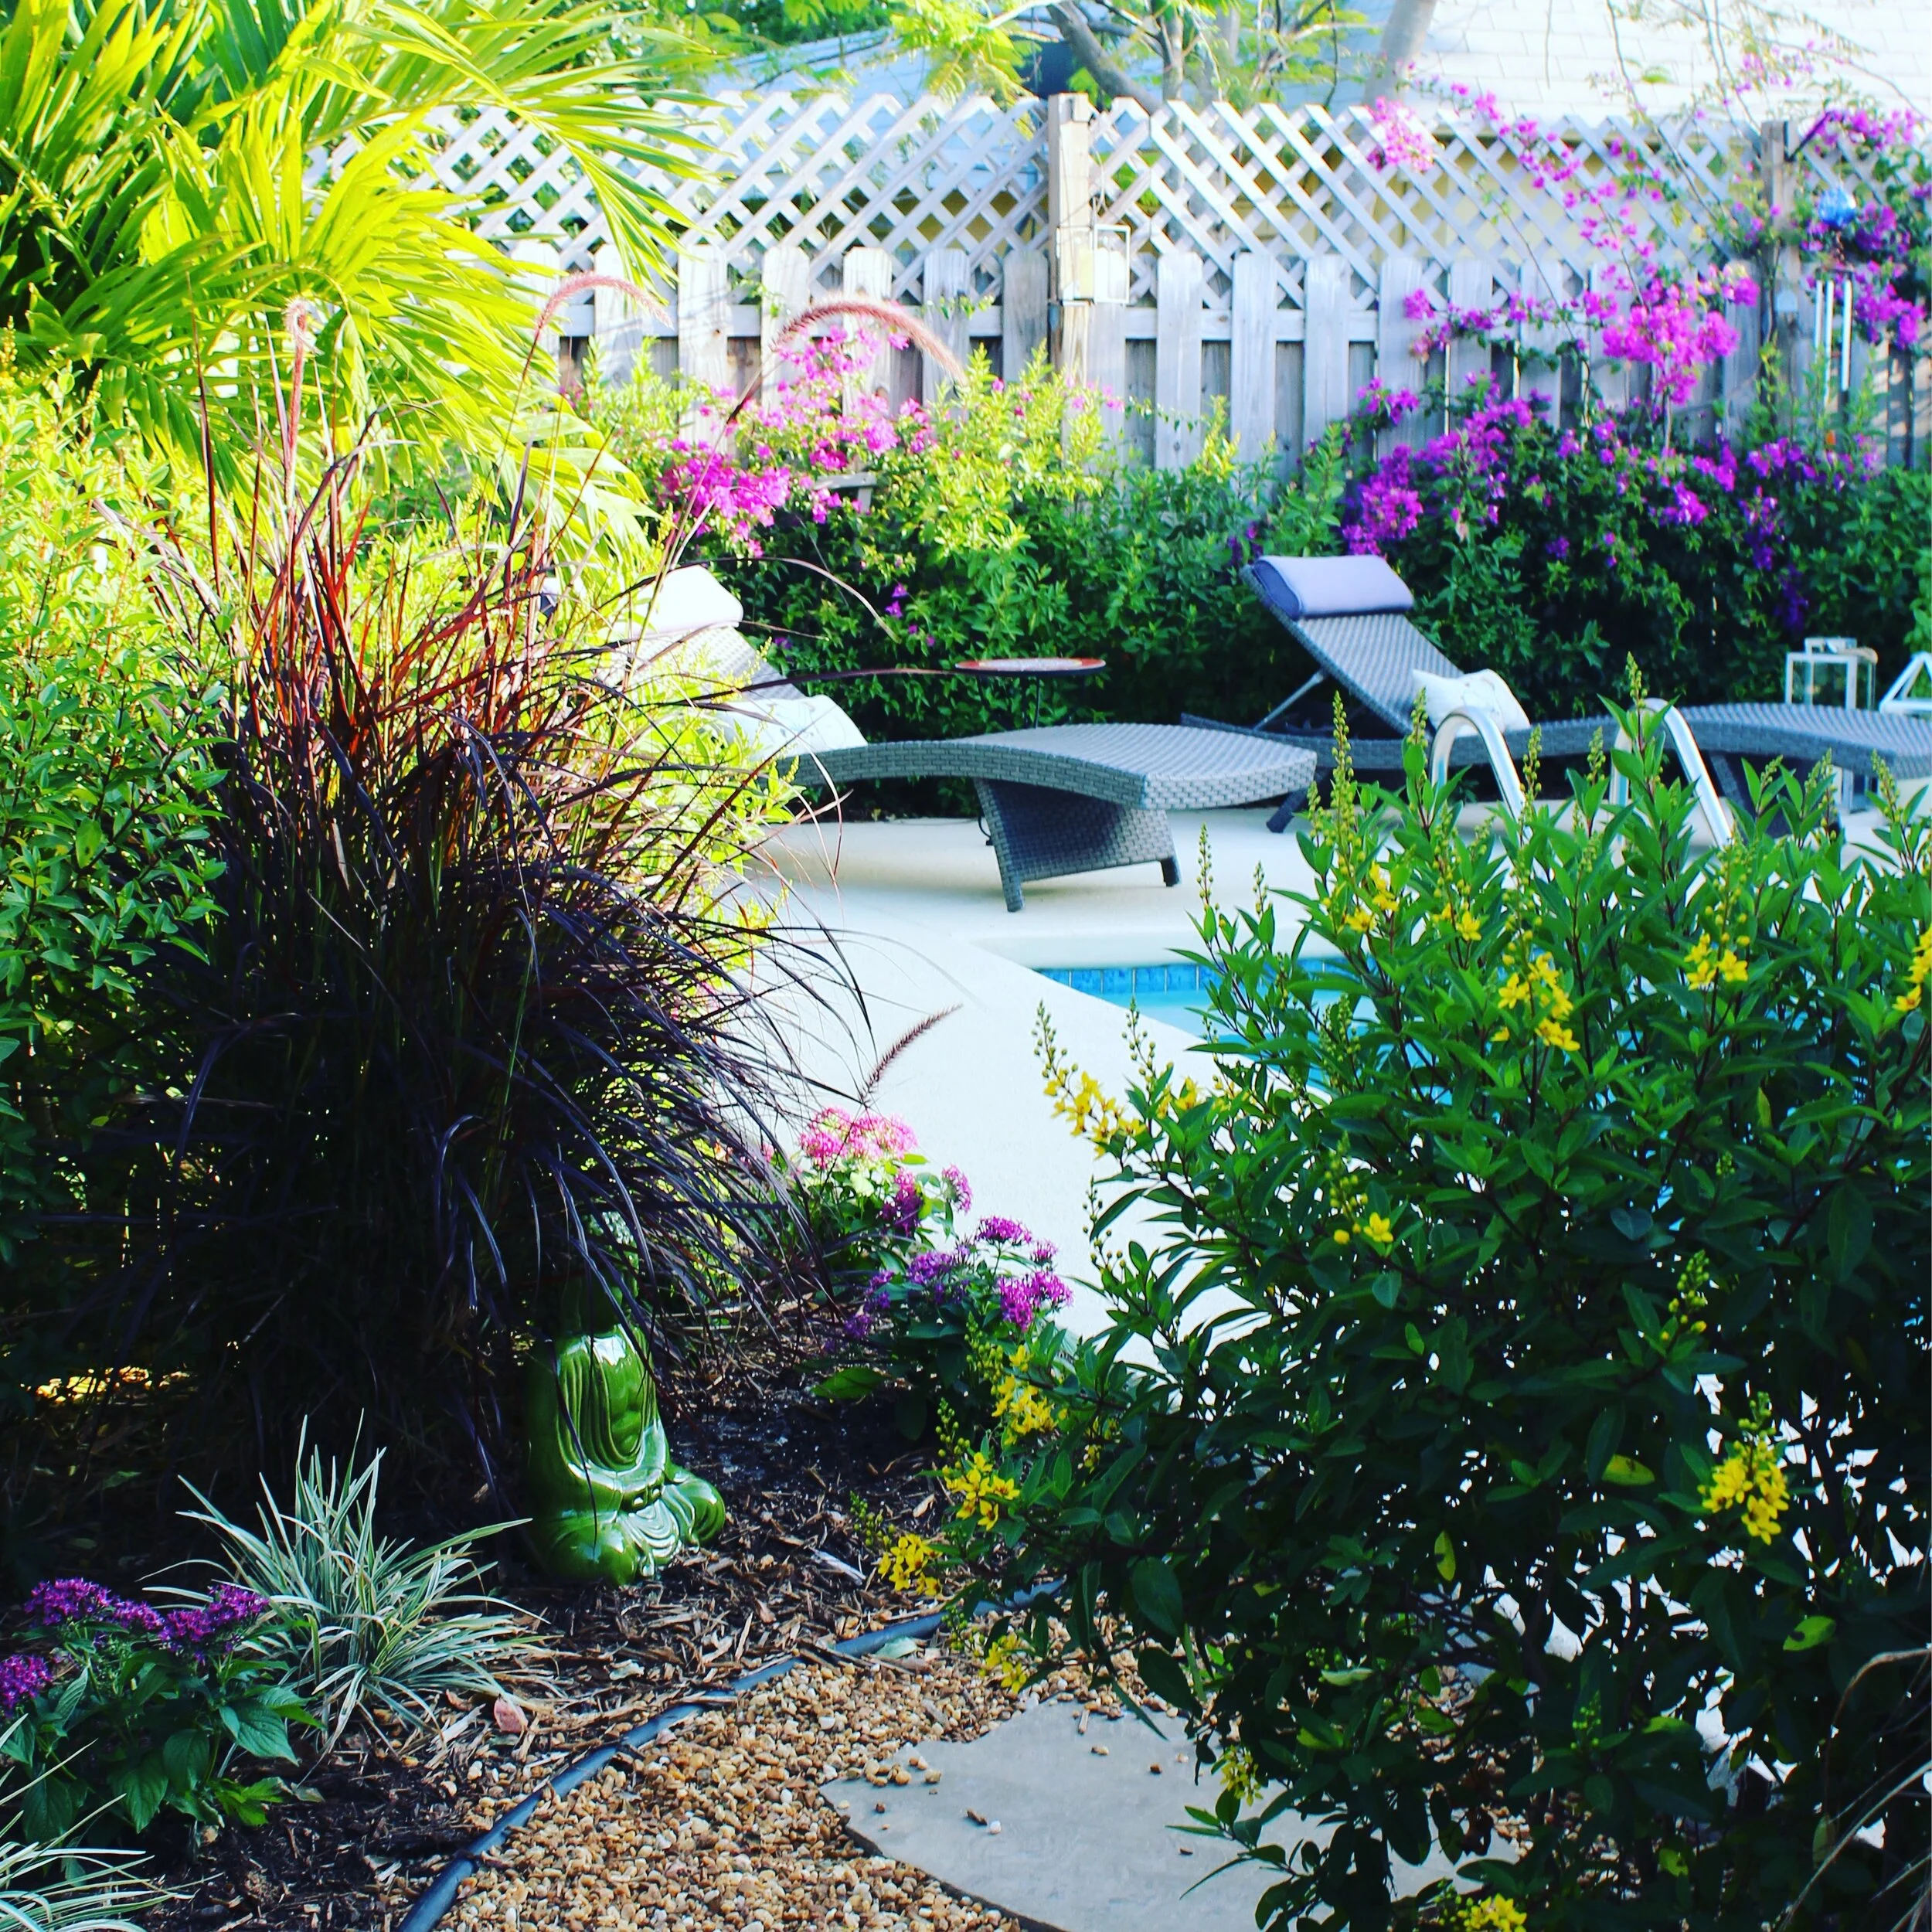
Garden Chair
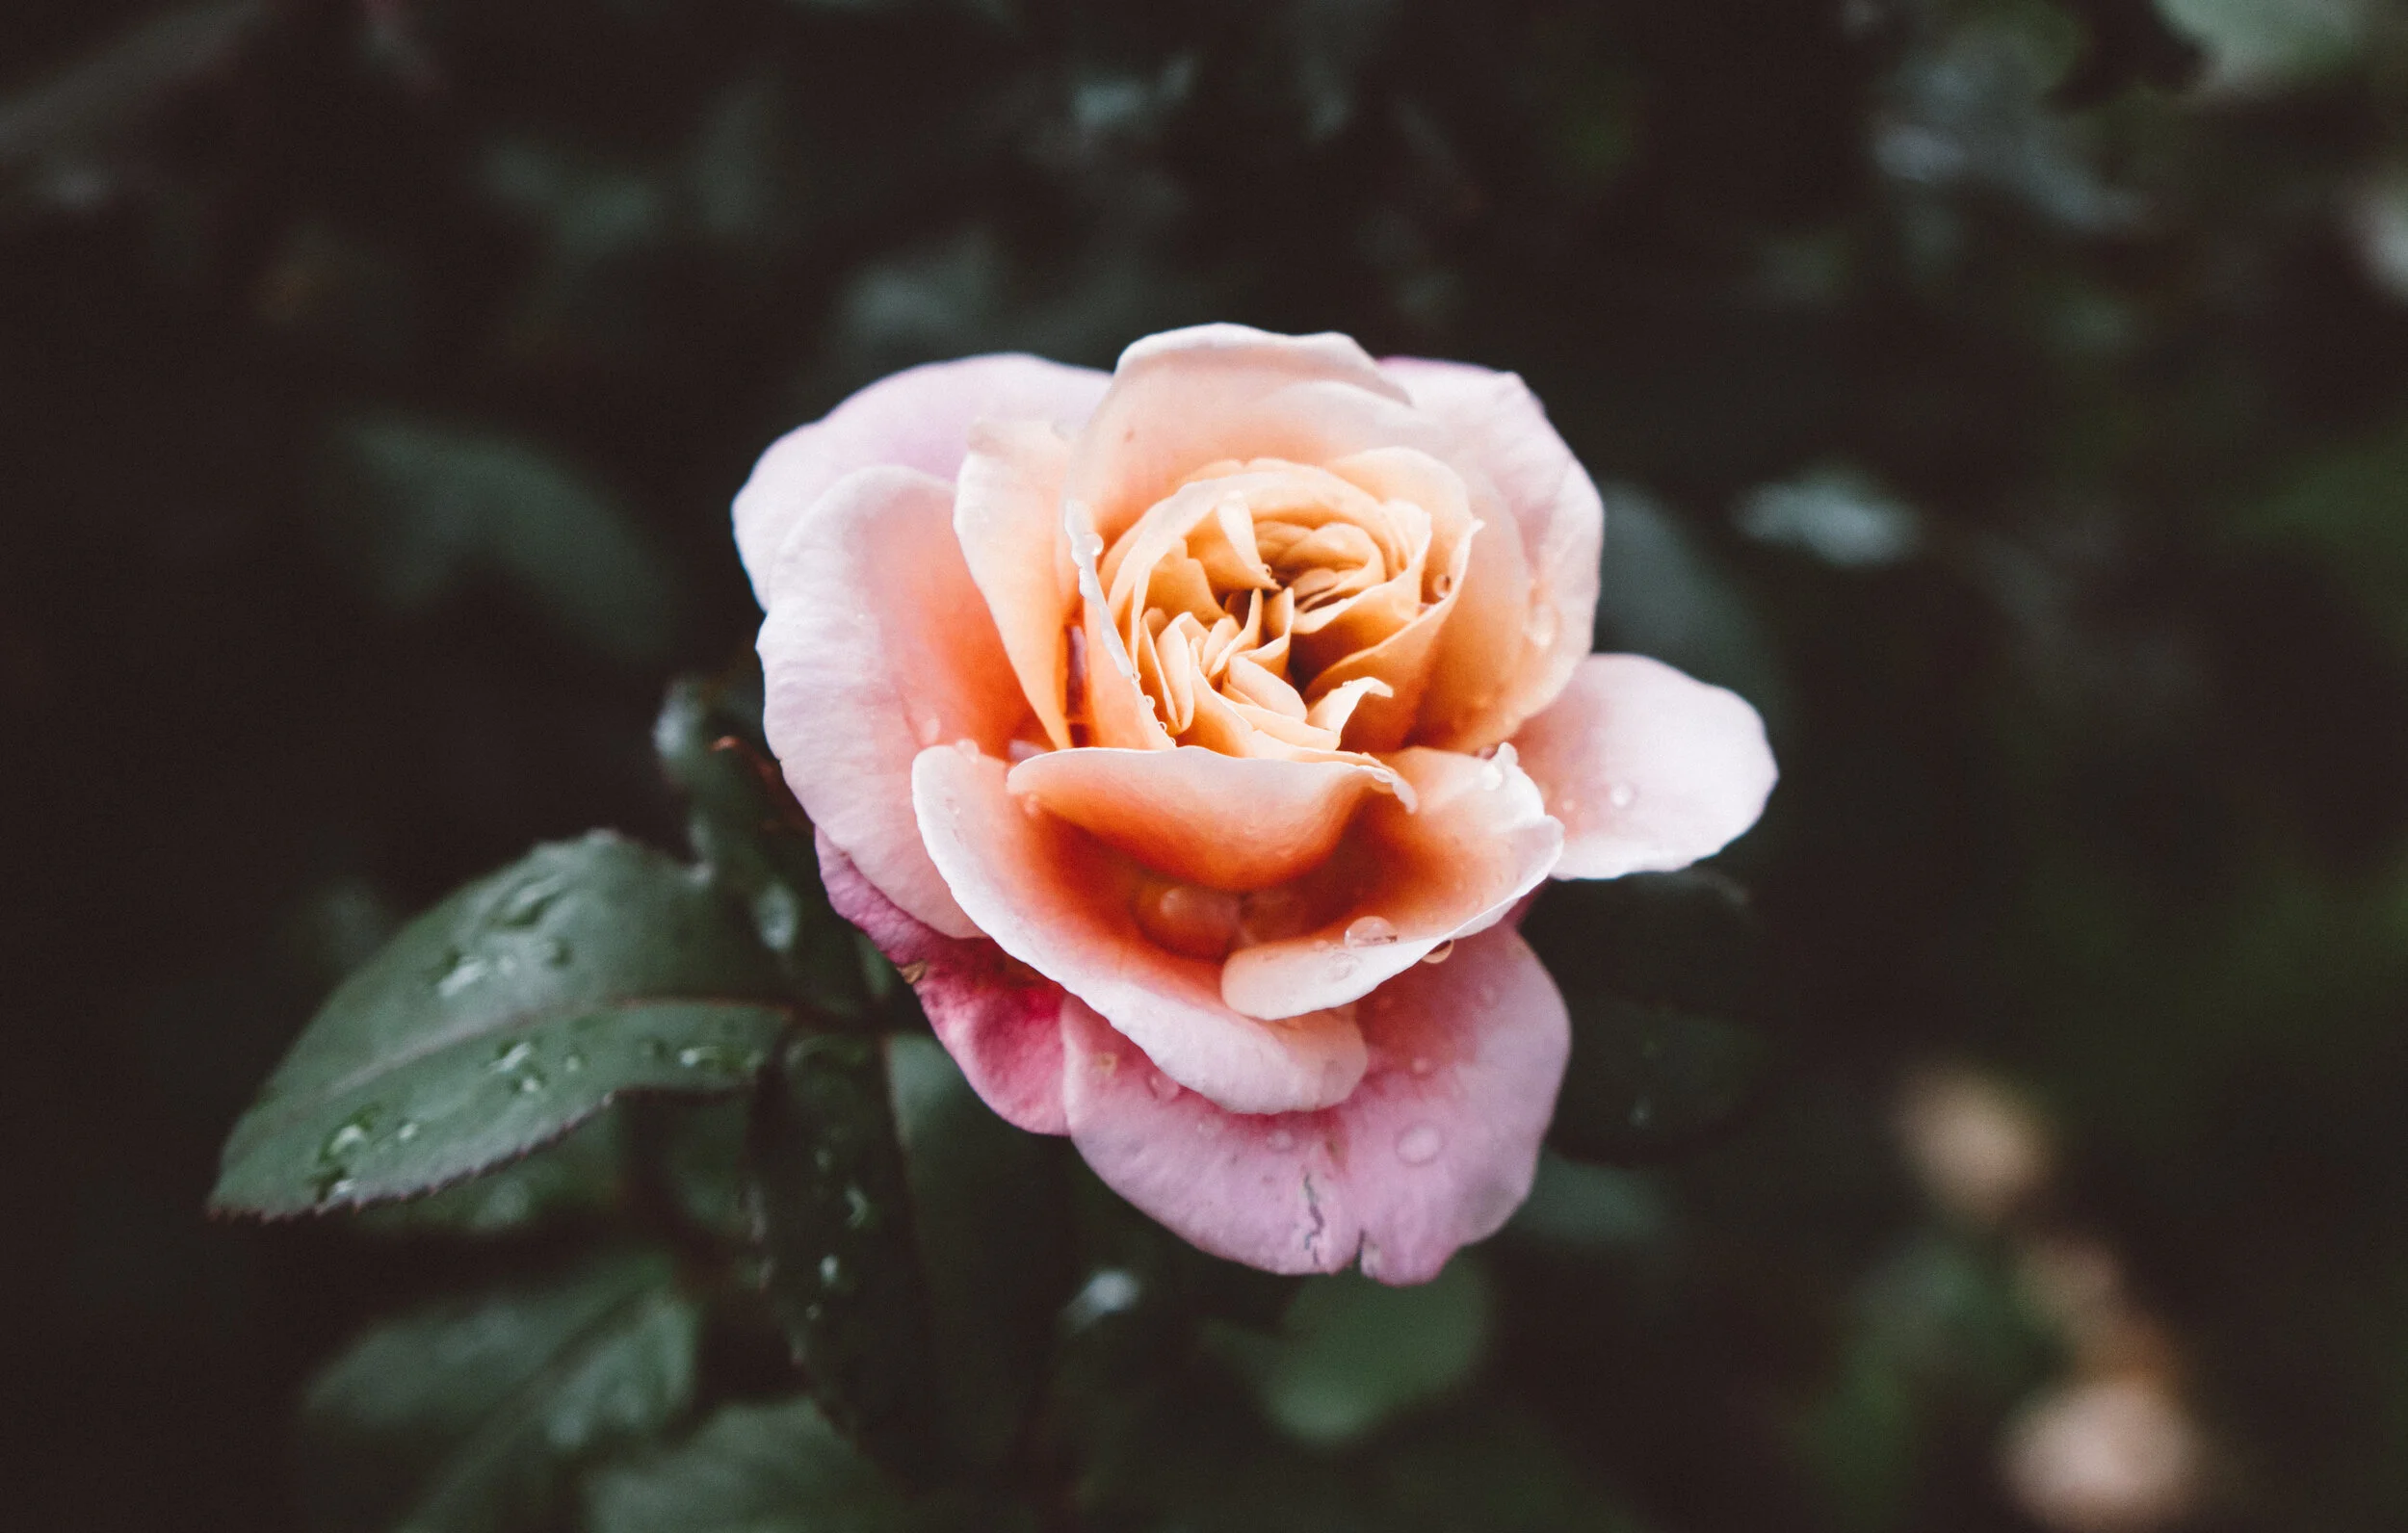
2. Get to know plants and flowers. You have to know what you like before you can create your space. Order gardening catalogs to help familiarize yourself with garden lingo and plant families. I provide numerous recommendations on this page. Just click the buttons to visit the sites and sign up for catalogs. Look at plants from the perspective of the job they do in the garden. Become familiar with annuals (plants that only last for one season then die off) and perennials (plants that come back every year bigger and better if properly maintained). Generally, I recommend creating a perennial form and structure for your garden where you can fill-in with annuals for color and texture on a yearly basis. In the long run this will also help your pocket book. Invest the extra money in perennials up-front and enjoy them for many years to come. Pay close attention to the gardens in your area and don’t be afraid to ask the gardener what plants they are using. Also, visit local nurseries and ask employees about their favorite plants. They have a wonderful wealth of information and are a great resource. I will be providing lists of my ideal plants in future posts, but they may or may not be ideal for your zone. As part of your research, I challenge you to think of a plant you loathe and despise. A plant you’ve never cared for. Now search for a variety that appeals to you and meets your needs. There are so many varieties of plants these days there is bound to be something you like. For me that plant is a rhododendron, but even I couldn’t resist the small, delicate native varieties in North Carolina (pictured above). In other words, challenge your likes and dislikes in the garden.
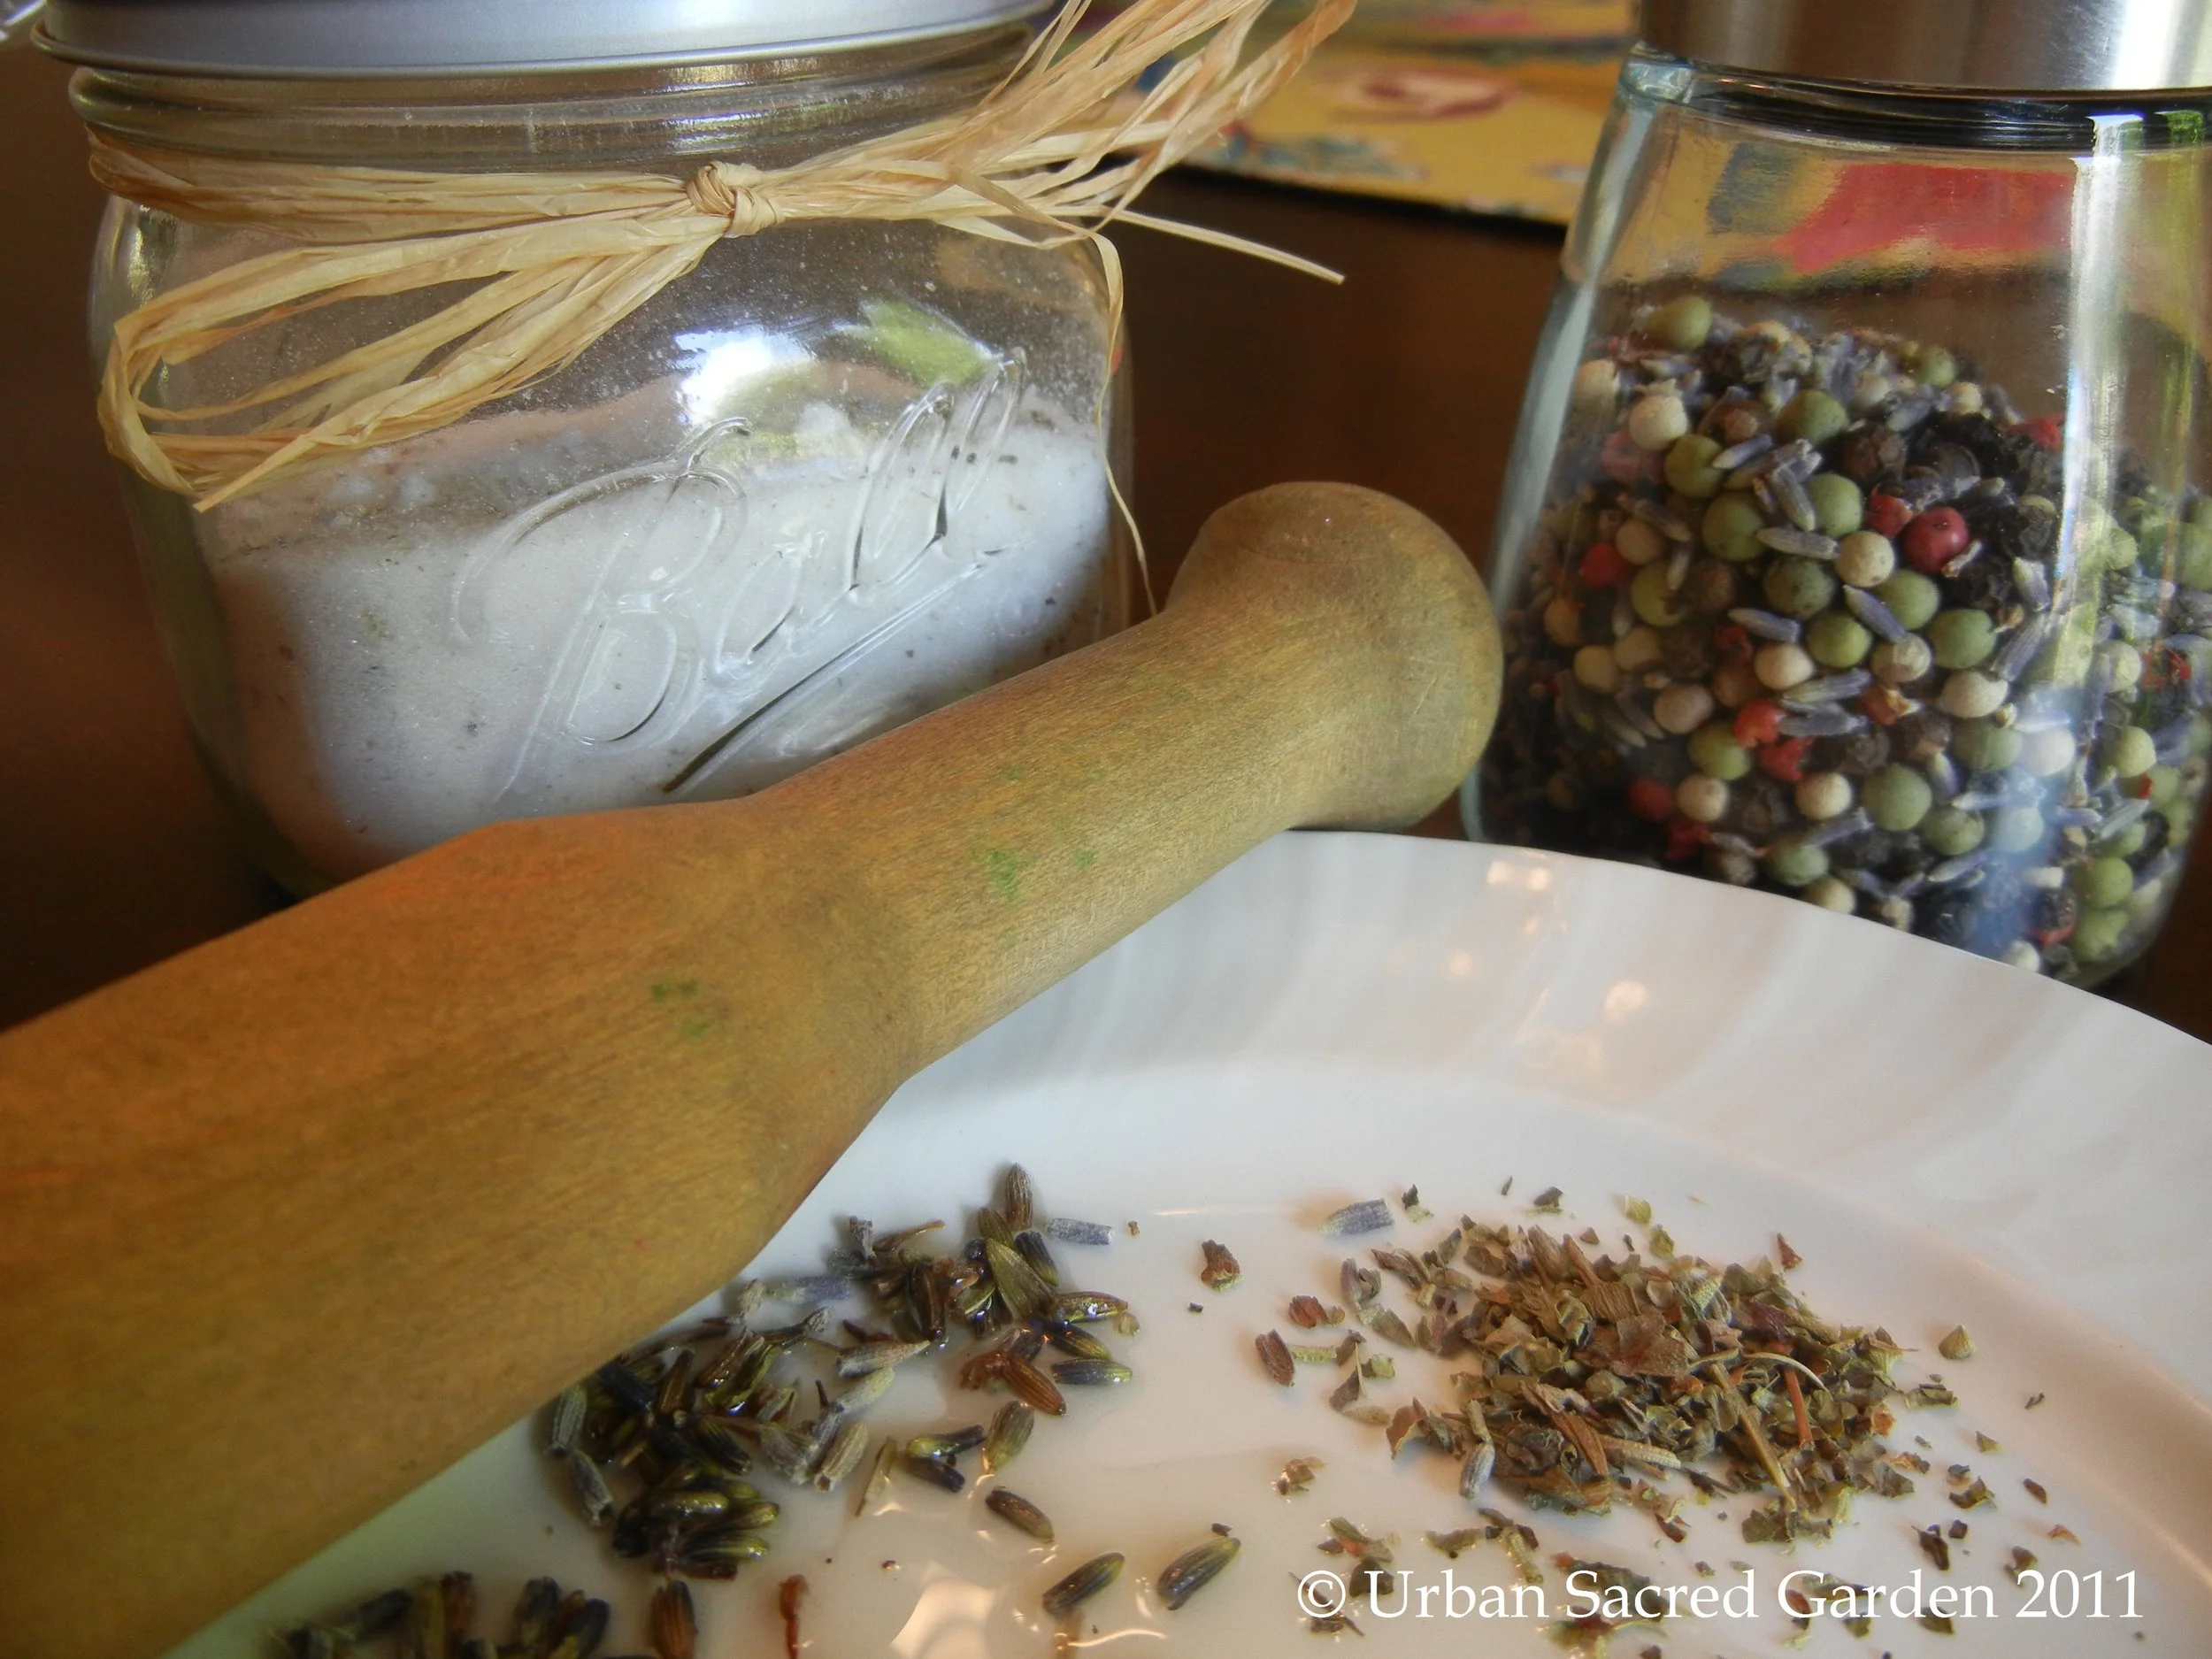
3. Purchase your basic tools. A well equipped gardener is an efficient gardener. Invest in good tools and they will serve you for a lifetime. As I’ve mentioned before, keep your tools sharp (see #2 on this list)! You’ll have the need for more tools as time goes on, but the short list below will get you started.
Spade and Shovels – A hand spade is a must have for planting smaller plants, and working in containers and other small spaces. For larger work you’ll need a round-nosed shovel and a garden spade. The round-nosed shovel has a pointed nose that is great for digging holes, and is slightly curved to help with moving soil and mulch. A large garden spade has a flat, sharp, straight edge that is perfect for working in small spaces and edging. It also has a shorter, stout, stronger handle that makes it extremely helpful for leveraging and popping plants out of the ground. You will also need a flat metal rasp file for sharpening.
Garden Rake – A heavy-duty garden rake is a must have for re-texturizing and grading soil. A garden rake is not to be confused with a leaf rake which has light-weight, feathery tines that pull debris off the surface. A garden rake has short, solid-metal tines a couple inches apart.

Tarps – Tarps are versatile, multi-functioning and easy to store. Buy multiple tarps, minimum size of 8’x8′, depending on your needs and purposes. They are much easier to use than most wheelbarrows and, while not as cute, get the job done more efficiently with fewer turnovers. They are great for moving soil and earth, and for catching all those raked leaves. Tarps can also be used to cover the ground when spraying chemicals (like pesticides and herbicides) to protect your soil – be sure to mark tarps for this purpose with a giant “X” and store appropriately and handle with care. You can cover the bed of the truck with a tarp when picking up loads of mulch, compost and soil to save yourself the hassle of sweeping out the small bits. You can cover delivered soil to keep it from getting wet in inclement weather in between your plantings. These are just a few ideas, but once you start using them you’ll realize the possibilities are endless.

Green Fairy
Pruning Tools – Pruning is essential to garden maintenance, and is often the most misunderstood and underutilized gardening process. I will post a mini-class all about pruning later, but for now I’ll quickly overview the basics for tools. Must haves are Bypass Pruners andLoppers. I am a big fan of the Fiskar’s PowerGear Bypass Pruner and Lopper. Bypass pruners are better than anvil pruners overall as they are more able to make a clean cut on your plant. You do not want frayed edges or crushed limbs from pruning. For larger jobs you may also need a Bow Saw and Folding Tree Saw. Cut at a 45 degree angle so water does not accumulate on the tip. Keep your pruners sharp and clean. Sometimes you’ll be pruning diseased branches and you don’t want to spread disease. Keep rubbing alcohol in the area with your tools. Thoroughly rub them down to kill disease and remove all sap and other sticky elements that gunk up tools. (Also, change clothes and shower after pruning diseased plants and save those plants for last in your gardening work.)
4. Draw a rough sketch of your space and visit your local nursery and take notes. Start visualizing what this space might look like. Create a binder filled with sketches and ideas. Take a look at Perennials you’d like in your space. Look for variances in height, foliage size and color. Read the tags – how big will the plants get? How much space do they need? How quickly do they grow? Does the data on the card match-up with the needs of your space? Start to get a realistic picture of what you can and can’t do. Look at hardscape options – pathway coverings, trellises, statuary, benches, birdbaths, decking, etc. Think back to Week 1 and the purpose you want your space to fulfill, how can you meet that need?
5. Go the library or the bookstore. Start browsing books for design ideas and concepts. Just immerse yourself in the gardening sections for books and magazines and start looking. It is amazing how many ideas the right book can inspire in a short amount of time. You know will know quickly if a book or magazine does or doesn’t have the look you want. I have some gardening book suggestions in the “Books I’m Reading” section in the right-hand sidebar of this page. For magazines, I suggest Organic Gardening, Garden Design and Fine Gardening. Of course the web is always a great resource.
Have fun on your new adventure and happy gardening!